Learn how to create a Grunge Typography Poster in Photoshop using brushes, text & shapes!
Final Result
--------------------------------------
1. Create a new document that's 650×750, if you plan to print the poster set the Color Mode to CMYK. Fill the background using the colour below.
Choose a paper texture, create a new layer and click down using the colour below.
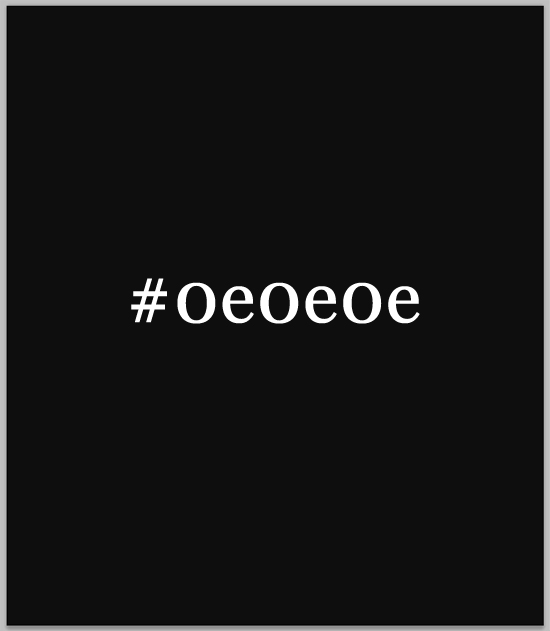
4. Next using the font and colour below put in some Lorem Ispum (or actual text) text.
You can rotate the size by pressing ctrl+t and rotating the edges.
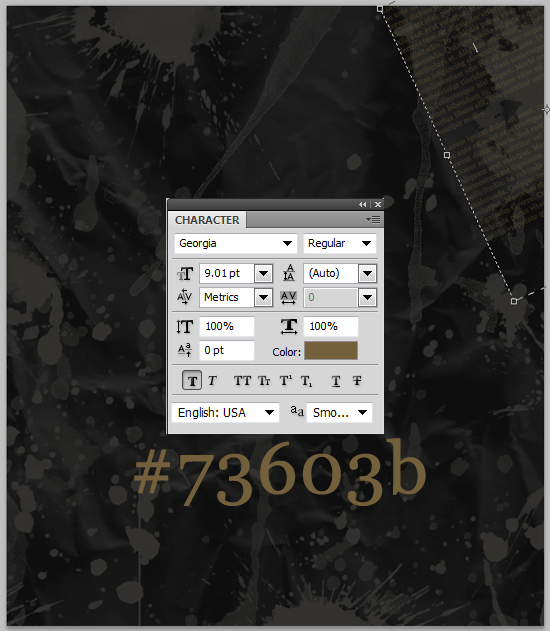
5. Put in some more text using the font & colour below.
Again rotate it using ctrl+t. Experiment how you want the text to be aligned and where to place it.
6. Next choose the rectangle tool and draw a white rectangle shape,
rotate the rectangle (using ctrl+t) and place it on the bottom right corner of the page. Set the opacity to 10%
7. Next create a new layer, and place a splat on the bottom corner like below.
.
8. Next get this
Birds of a Feather font, and place some flying birds on the corner using similar greyish colours using the text tool.
10. Next go into the Custom Shape tool and choose the shape I have circled below. Draw the shape while holding down the shift key (to keep the shape perfect).
11. Using the Rectangular Marquee Tool select the top of the shape like below, and click on the Add Layer Mask icon. This will crop the shape down to what you selected.
12. Next duplicate the layer by dragging it to the new layer icon (circled below). On the duplicated layer move it left by holding down the ctrl (for little moves) or shift (for large moves) and clicking the left arrow on you keyboard.
13. Now put those 2 layers into a folder, and duplicate it. Rotate the lines, change the colours to what you want and place them on the poster where you like!
14. Next grab the rectangle tool and draw a thin, long square. Duplicate it and place it around the canvas like you want using the ctrl+t method for rotating!
15. Lastly create a new layer and place it above all the other layers. Using the colour black, get a paper texture and press down it give it a nice grungy look!
Final Result