Friday, December 30

Creating a shiny blue logo 

Posted on by Roofi Sardar on April 10th, 2011

level : intermediate

Source here

Note:
Before you continue, make sure you are deeply familiar with most of the basic tools used often in Photoshop.
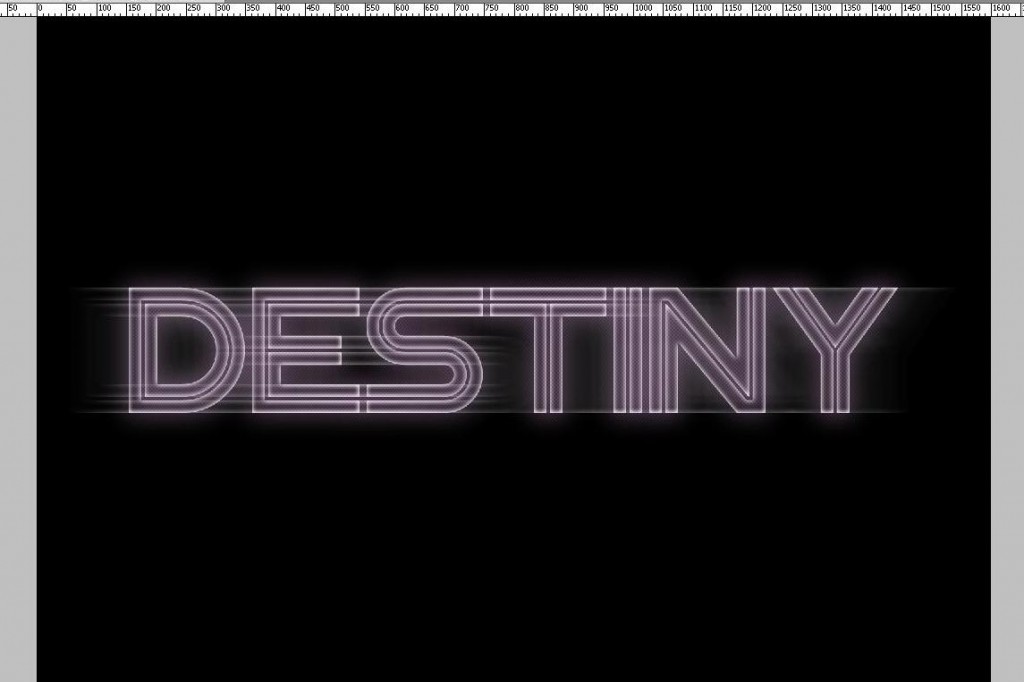
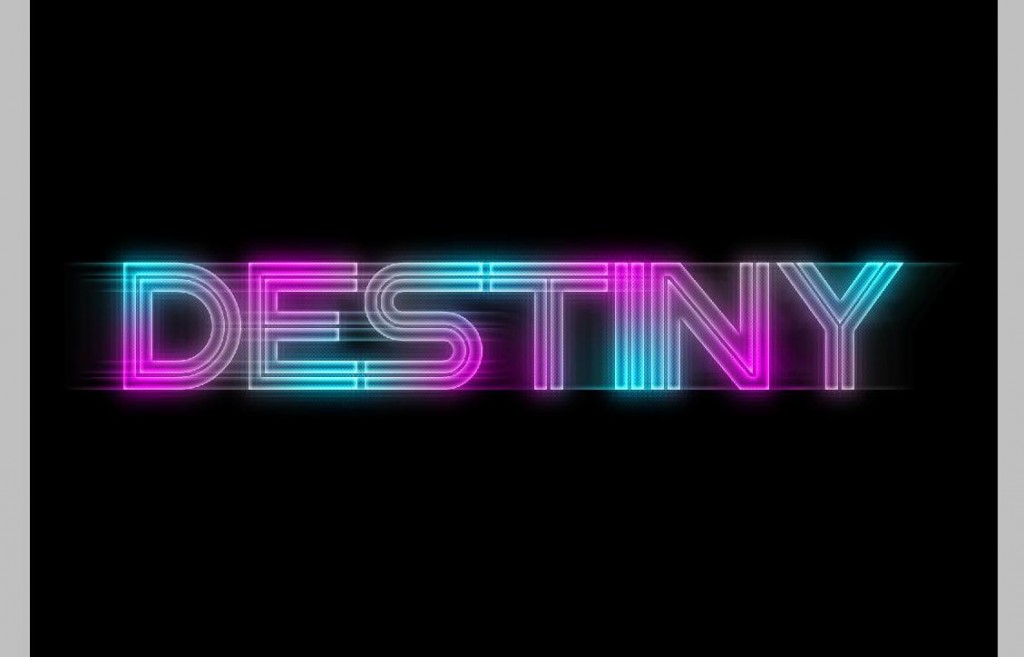
Final Result:


1)  Open a new document with the following settings:

 
2)  Create a new group and rename it as Circle
All of the subsequent layers that are to be created will be placed inside this group 
unless stated otherwise. Open a new layer.

3) Place two (vertical and horizontal) guides to mark the center of the document. 
This is extremely important because you will need them constantly throughout the tutorial.

4)  Select the Elliptical Marquee Tool
Hold down the SHIFT key, left-click, and drag your mouse to create a circle.

5)  Fill (SHIFT+F5) the circle with 50% gray

6)  Open Layer Style  for the current layer and make the following changes:


The Fill Type color has been set to #4b4b4b.

7)  Deselect the selection (CTRL+D).


8)  Using the Elliptical Marquee Tool, create another circle 
     of a smaller radius than the first circle.

9)  Press the Delete key.  
     Deselect the selection (CTRL+D).


10)  Using the Elliptical Marquee Tool
       create another circle of a slightly larger radius than the second circle:


 11)  Select the Burn Tool and make the following changes in the Tool Options Bar:


The Hardness has been to 0%.

12)  Apply the Burn Tool on the upper half of the circle formed by the selection.

13)  Select the Dodge Tool and make the following changes in the Tool Options Bar:


14)  Apply the Dodge Tool on the lower half of the circle formed by the selection.


15)  Deselect the selection (CTRL+D). 

16)  Open a new layer.

17)  Using the Elliptical Marquee Tool
       create another circle of radius such that its circumference lies entirely on the inner stroke.


18)  Fill (SHIFT+F5) the selection with 50% gray
       and deselect the selection (CTRL+D).

Your image should look like this by now:


 19)  Open Layer Style for the current layer and make the following changes:


The Color of Shadow has been set to #063a61.


The Color Overlay has been set to #9eceeb.

20)  Open a new layer.

21)  Select the Gradient Tool and 
       make the following changes in the Tool Options Bar


22) Hold down the CTRL key and left-click on the Layer Thumbnail for Layer 2
      This forms a circular selection around the blue region.

23)  Using the Gradient Tool, draw a vertical line on the vertical diameter 
       of the selection you created in the previous step.

24)  Deselect the selection (CTRL+D). Press CTRL+T and shrink the shape 
       and place it according to the image below:

25)  With Layer 3 still selected, go to Filter > Blur > Gaussian Blur
        Change the Radius to 2px and hit OK.

26)  Open a new layer.

27)  Using the Pen Tool, create the following path:

28)  Using the Path Selection Tool, right-click the path and choose fill Path.  
       Change the color to #97e0ff and hit OK.

29)  Again, right-click the path using the Path Selection Tool and choose Delete Path.

30)  From the Layers Panel, change the fill of the current layer to 40%.

31)  Go to Filter > Blur > Gaussian Blur
       change the Radius to 20px, and click OK.


Your image should look like this by now:

We are now going to create the content inside the circle.

32)  Create a new group and rename it as Text
       All of the subsequent layers that are to be created will be placed inside this group

33)  Select the Text Tool and make the following changes 
       to the Character Settings:


The size of the font depends on the size of the circle. 
The color has been set to #6d91ab.

34)  -   Left-click on the document and type “PSL”. 
       -   Place it at the center of the circle. 
       -   Press CTRL+T to transform its shape 
           so that it matches that in the Final Image.

35)  Open a new layer.

36)  Change the Foreground color to #5b8da8.

37)  Select the Rounded Rectangle Tool and 
       make the following changes in the Tool Options Bar:


38)  Draw a small rounded rectangle and place it 
       right above the text you created in Step 34

 
39)  Open Layer Style for the current layer and make the following changes:


The Color of Shadow has been set to #5b8da8.
40)  Again, using the Text Tool, type “PSL”
Place it inside the rounded rectangle.

41)  Open a new layer.

42)  Use the Brush Tool to paint two small dots on both sides of the text.
That’s it, babe. 

Final Result:

Monday, December 26

Create a vibrant and futuristic styletext effect in Photoshop


■♥■  SOURCE HERE  ■♥■

In this tutorial, we will show you how to create a colorful and futuristic style text effect in Photoshop using simple glow effects, motion blurring and stylish fonts and abstract stock images with some simple techniques. We will make use of some layer styles and lots of filters to create our text and finally some stock images as textures to polish our design, the steps are much easier to follow, this tutorial requires no user expertise, even a first timer in Photoshop can create superb typography designs based on this.
Before going into the tutorial, let us see how the final image will look like.

Materials Needed:


#Step 1:New Document

Create a new document of size 1600 by 1200 px with black as the background color.


#Step 2: Add Text

Now add some text of the font Viper Squadron which can be downloaded from DaFont, about the size of 300px of any color (since we are going to set the Fill to 0 anyway, the color of the text does not matter). Make sure to rename this layer as “base_text” because we will be duplicating this particular layer many times, later in the tutorial for applying filters and textures to achieve the final effect.
Position the text in the center of the document , aligning both the horizontal and vertical centers with respect to the background layer.


Before applying the following layer style for the text layer, set the Fill to 0% for the layer.

#Step 3: Layer Styles for the text

Now add the following layer styles to the text layer.

Inner Glow

Add an Inner Glow layer style with White #FFFFF as the color with the following settings.


Step 4

Now we are going to add Motion Blur the text by duplicating the original layer and then rasterizing the same.

Rasterizing the layer with Layer styles

Before applying the Motion blur effect we are going to rasterize our text layer along with the layer effects, in order to do that, first duplicate our text layer called base_text, move it to the top of the Layers Panel and rename it something like “motion_blur”, create a new layer above the motion_blur layer, select both the new layer and the duplicated text layer, merge them using Layers -> Merge Layers or simply press Ctrl + E (Cmd + E for Mac users). Don’t forget to rename the merged layer as the originalmotion_blur. Now our text is ready to be distorted.
Go to Filter -> Blur-> Motion Blur, give 200 to Distance and 0 as the Angle and apply OK.


After applying Motion Blur , the text will look like this.


Step 5: Add Gaussian Blur

Now we are going to add a little Gaussain blur to our text to give some glow, for that duplicate the “base_text” layer , move it to the top of the Layers Panel and rename it as gaussian_blur. Rasterize this layer using the technique mentioned in Step 4
Apply a Guassian Blur of about 20px.


After adding Gaussian Blur the text will look something like this.


Step 6: Halftone Effect

Once again duplicate the base_text layer, move it to the top, rename this layer, rasterize it and then apply the Halftone effect on this layer.
Go to Filter -> Sketch -> Halftone Pattern , apply this filter using the settings: Size = 1, Contrast = 50, Pattern Type = Dot.


Now this is the effect so far with the text.


Step 7: Apply Fragment Filter

Prepare the text for applying the Fragment filter, duplicate the base_text layer, move it to the top, rename this layer, rasterize it and then apply the Fragment effect on this layer.
Go to Filter -> Pixelate -> Fragment
Repeat this effect again about 2-3 times to get the text fragmented which will give a nice distorted effect on the text.


Step 8: Adding Color Overlay

Now our text is great but it lacks some vibrance, so now it’s time to add some colors to it. Create a new layer at the top, name it color_overlay.
Grab the Brush Tool (B), select a soft round brush of 0% hardness and 200px diameter.


Pick the colors Cyan (#00FFFF) and Magenta (#FF00FF) and brush some soft spots randomly over the text here and there, you can use the below image for reference.


Change the blending mode of the layer to Overlay.
This is the effect with so far.


Step 9: Adding Abstract Stock Texture

Our design is almost ready for the final step, now grab the stock image from Abstract Stock Image fromsxc.hu by marchecco. Thanks to Marchecco for providing such quality and wonderful stock for us.


Resize the image to fit into our canvas and change the blending mode of the layer to Multiply.

This is how our final output will look like, please also take a look at how the layers are stacked against each other and arrange the same in the order for good looking final result.

Some Enhancements

Our design is ready now, if you want to enhance the quality of the image and effects, you can sharpen the final output a little using standard Sharpen filters available in Photoshop. We have used the Reduce Noise and Smart Sharpen filters to get the final image for the tutorial.
Flatten the image by Layer -> Flatten Image (you can also duplicate the document if you want to retain the original for later refinements by Image -> Duplicate and then flatten it to apply enhancement filters.)

Reduce Noise


Smart Sharpen


Finally here is our final image with vibrant and awesome looking Futuristic text effect. There are certain things i want to mention here, please be liberal with the use of stock images, different sizes, different textures, having a wide variety of stocks used will improve the quality of the output, and also experiment with the settings while applying filters to get accurate and effective results.